

 We got our shirts for the 10 for Texas on Thursday and I hate to wear shirts like everyone else! I wasn't even sure I wanted to wear the race shirt, but since it didn't have finisher plastered on front...Major sport faux pas to wear the race day shirt on race day- I know, but I thought it was a cute shirt! Lots of other people were wearing them too! So simmer down! Ha! I like to be unique, different, you get the idea! So Thursday evening I get this great idea to give the race day shirt a makeover! I invited a few running friends over to do the same and we each contributed to the shirts. No shirt was the same, but rather each had slight variations, which I loved! Plus it was a nasty, humid Texas day and the sleeveless part was nice!
 Here all the three shirts side by side. Yes two of us were newbies to runs and this was our first one. We moved her number to the front - you gotta have the number in the front for pics. Notice the names on the back that we added. Besides that, here's how we did it.
I wanted a tank top, so I placed a favorite tank on top of the tshirt and just winged it when cutting the sleeves and neckline off. My friend who made the racerback shirt did the same with hers by placing a favorite tee on top to see how to cut it. It was hard making the first cut, because I was worried I was gonna mess it up! But we both liked the cut!
 Hard to tell on this shot, but we "blinged" the 10 and the eye on the armadillo. We also used red glitter glue on the "for Texas" and yellow glitter glue on the "O" and "2013" One of the girls added a bow to the armadillo and nail polish - Ha! Joann's, Hobby Lobby, Michael's Walmart all carry these little jewels for cheap. We glued the bling on with this E-6000 glue and used a toothpick to place them. Dries fast and easy to do!

 The arm sleeves took forever! We had a sewing machine and the plan was to sew the red binding tape on, but the machine was acting up. So onto plan B! I had some Steam A Steam from another project and it seemed easy but was labor intensive! If I had to skip one step to make this project super easy - it would be this step! But the clean line that it added made the shirt pop! Mine started to fall off by the end, but I can sew it on still! I wish I had had more for the neckline, but between three shirts we ran out!
 The sleeve is off! I had two colored ribbons from another project that I used for the tassel I found a pin on Pinterest where she turned a man's shirt into a tank and did the little sleeve thing with left over scraps. So I used ribbon and tshirt scraps. I just cut them into strips, hand sew them together and then hand sewed them onto the top of my tank strap.
 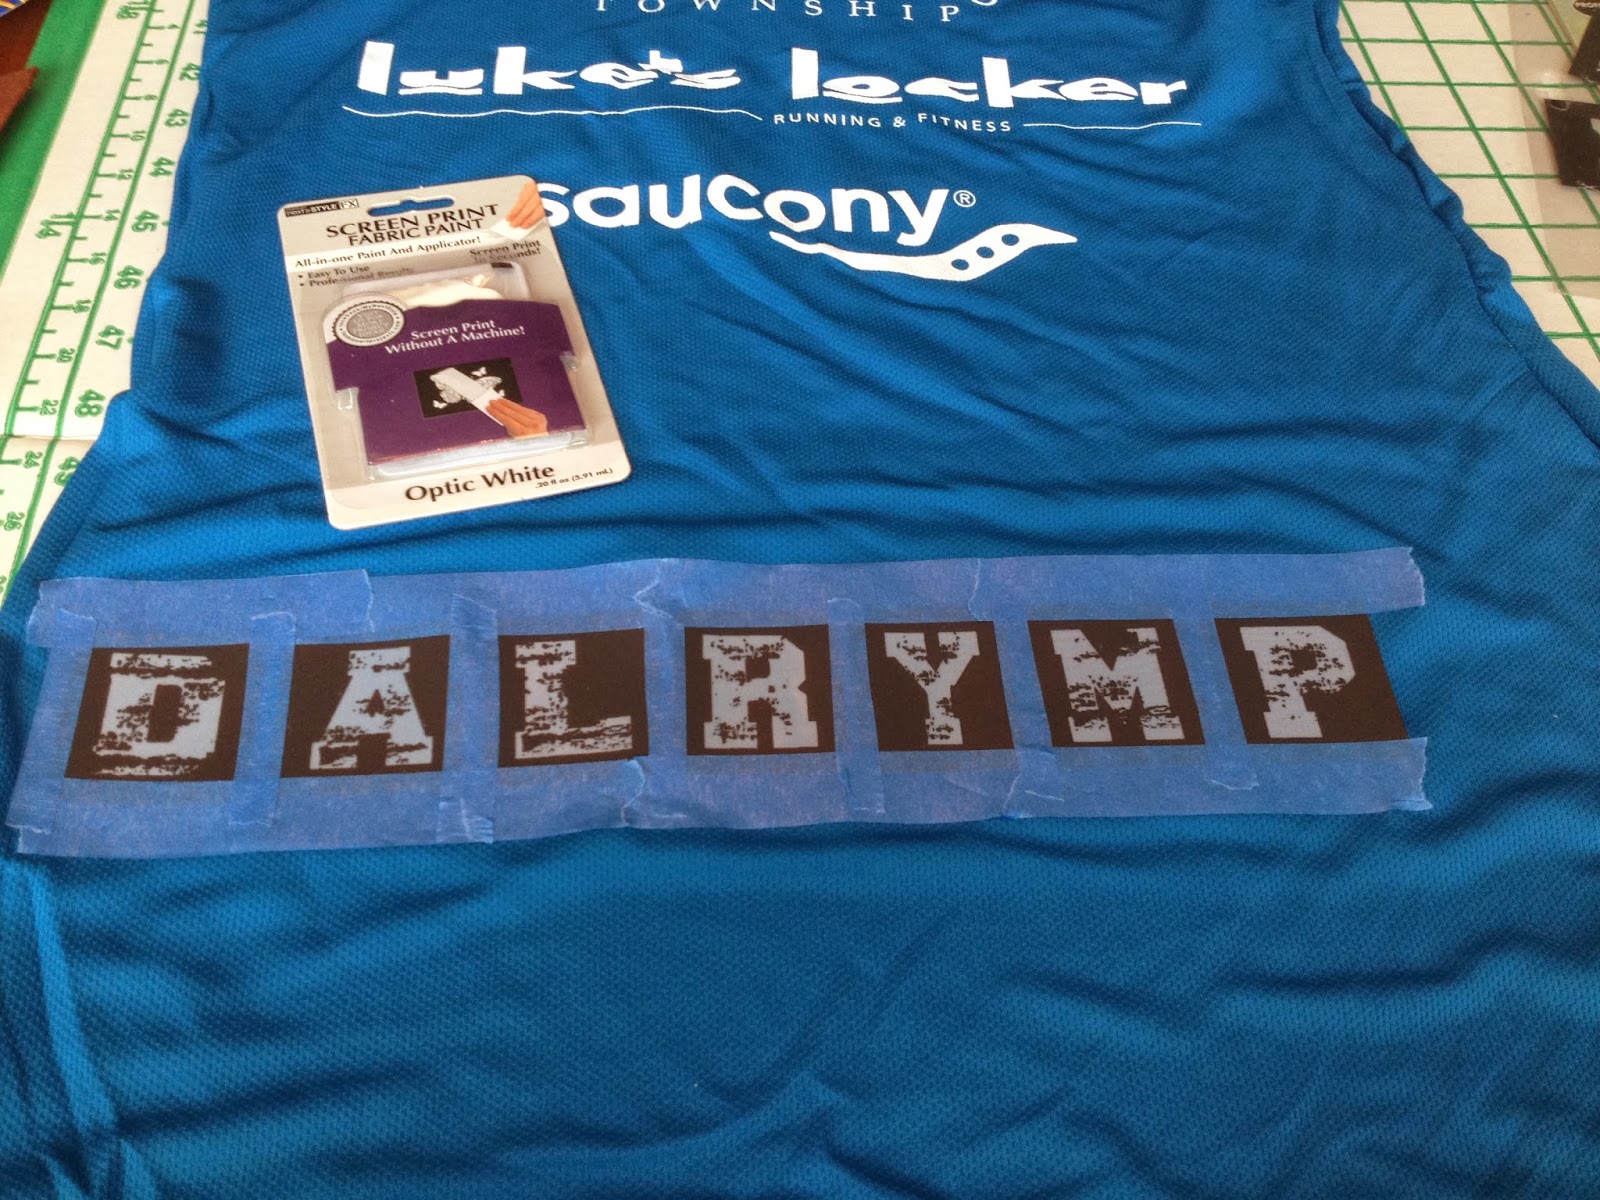 Adding the name to the back wasn't as easy as I thought... The letters are little screens and the paint goes on just like a screen printer. This kit was from Walmart. Note to self: remember to take off clear backing before wiping the paint...it won't go through! Ha! I did think using painters tape to keep the letters in place was a great idea and rinse them as soon as you can! We did three shirts and by the end the r was a little ragged. It was fun though and unique! I had a few runners call my name and talk since I had Trout on the back. I guess they thought it was my nickname, not my last name! The other girl's name was Looney! She's not Looney and that's not a nickname, it's her last name! Ha!
Overall the shirt took way longer than anticipated, but it was fun to hang out with friends, let the kids play, and create something. We got lots of compliments on our shirts and lots of people asked us who made our shirts, I guess we don't look like the crafty type? You gonna tray to alter a shirt? It's fun!


No comments:
Post a Comment
Thank you for sharing the love back! I love to hear from my readers!